Wednesday 26 December 2012

Low fat simple gajar ka halwa


Celebration of the winter chill is incomplete without Gajar ka halwa. In anticipation of sudden disappearance of red carrots from Bangalore vegetable markets, I made this pudding almost a fortnight ago, however as luck would have it ,I found time now only to post it.

Its a very simple recipe with emphasis on low fat and sugar,unlike the conventional method which requires loads of ghee, sugar, milk and hours of slaving on the stove. The final outcome is yummy and can be had without guilt any time:)

Ingredients

Carrots( peeled, washed and grated)- 1kg
Ghee- 3 tsp
Sugar-1/2 cup
Milk powder-1/2 cup
cardamom green crushed-3
Nuts of your choice chopped-1/3 cup

In a heavy bottom skillet, melt ghee.
Add grated carrot, mix, cover and let it cook in its own juices for ten minutes.
Remove lid, add sugar, milk powder and cardamom. Combine nicely and cover.
Stir once more after five minutes and cook let it cook for another five minutes.
Garnish with chopped nuts and serve warm.

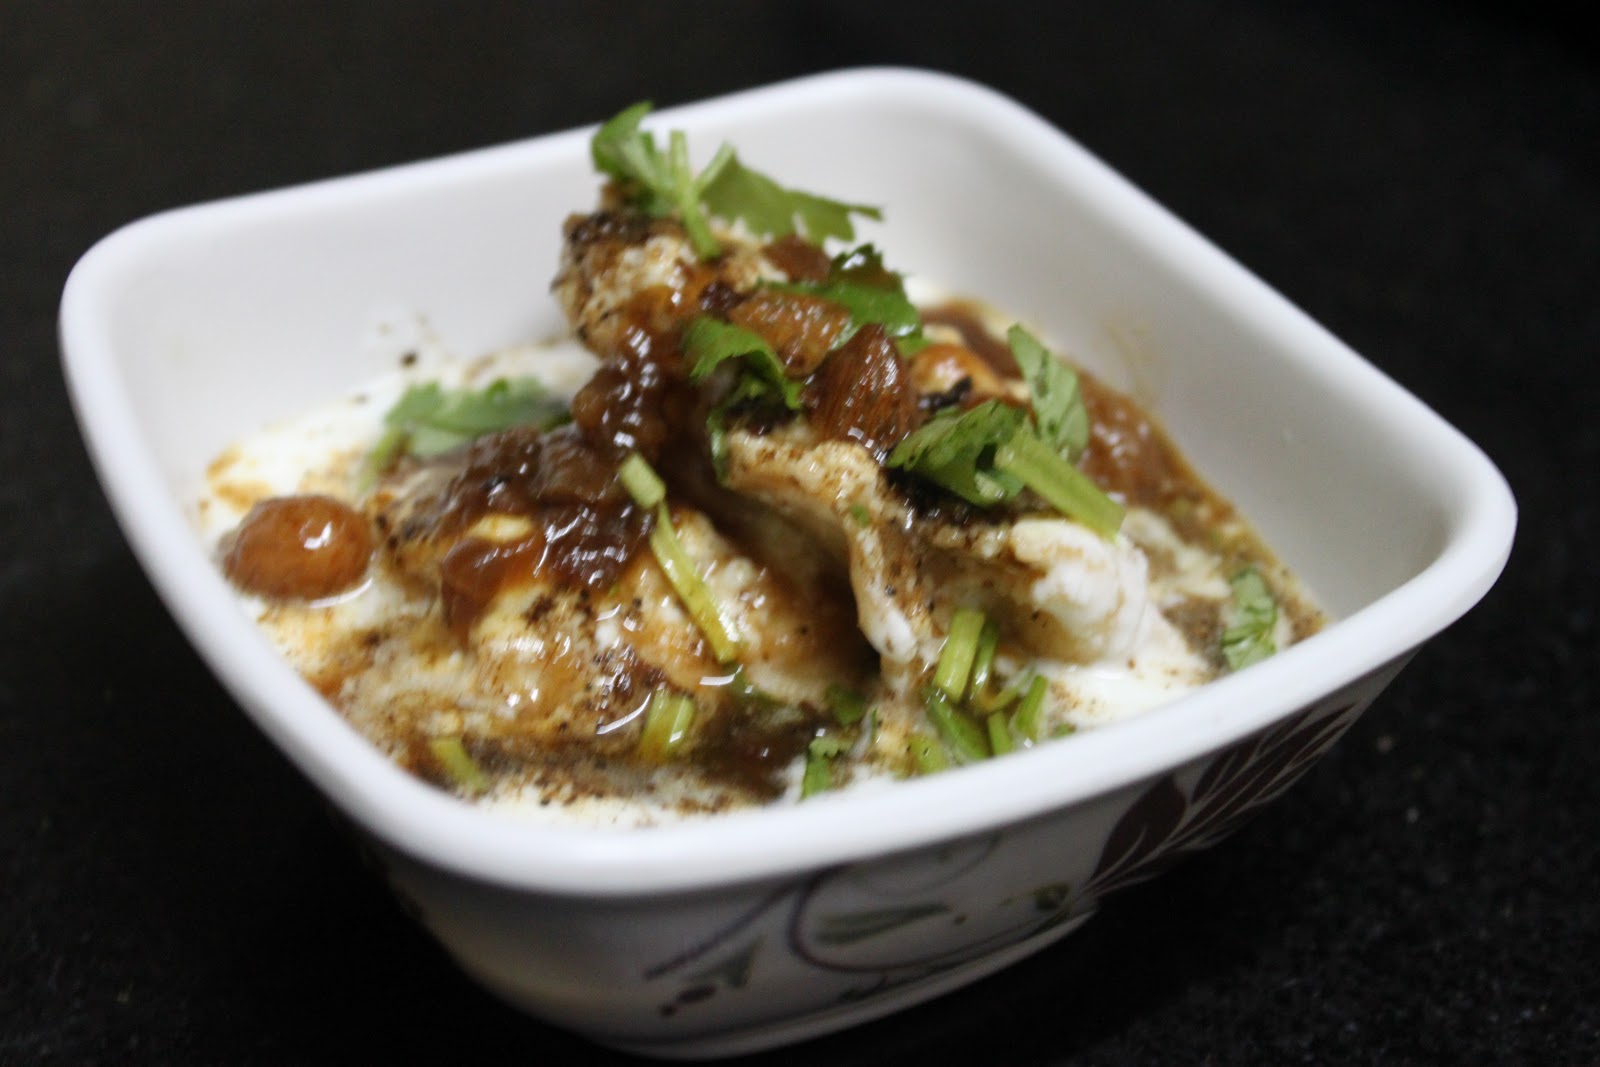
Mum's recipe-dahi bhalla


This summer, when I went home to my parents' place, I fell in love with my Mum's dahi badas allover again. I was having it after a long long time and could not have enough of it. I would have six seven badas in one go and still would not feel satiated. Such light and fluffy vadas with chilled yogurt and tangy tamarind sauce were like a balm for the soul than stomach in the seering Lucknowi heat. I HAD TO learn it from Mum and do a test run in her presence so that I could do it on my own back in Bangalore. Mum painstakingly taught me and Dad like a veteran connoisseur approved my work.
I made dahi bhallas for Xmas today and kept thinking of Mum. I can never match her prowess in the kitchen..never in a thousand years and there is so much to learn from her that a thousand years wouldn't be enough..Here is Mum's no fail dahi badas..spreading love and joy this Xmas..just the way my mum does:)

Ingredients-

Moong dhooli daal-1/2 cup
Urad dhooli daal-1/2 cup
To be soaked overnight
A pinch asoefetida
Oil to fry

Tamarind sauce

Lemon sized ball of tamarind
Oil-1 tsp
Cumin-1 tsp
red chili powder-1/2 tsp
Asoefetida- 1/4 tsp
Black rock salt- to taste
Jaggery or brown sugar-1/2 cup
Water-2 cups
Raisin-1/4 cup
Cashews-Handful roughly chopped

To serve
Plain yogurt
Roasted cumin powder
Chaat Masala
Salt
Optional-juliennes of ginger, chopped green coriander, grated carrot

Mix the daals, wash and soak in two cups of water overnight.
Next morning,add a dash of asoefetida and grind it to a paste.
Now here lies the crucial part-before frying whisk the paste vigorously.
Take a bowl of water, add a drop of this paste.
If the drop sinks,there is more whisking to do and if the drop floats, the paste is ready to be fried into bhallas. This is very crucial for bhallas being light and fluffy. Without passing this test, be prepared for rock hard and heavy dumplings.
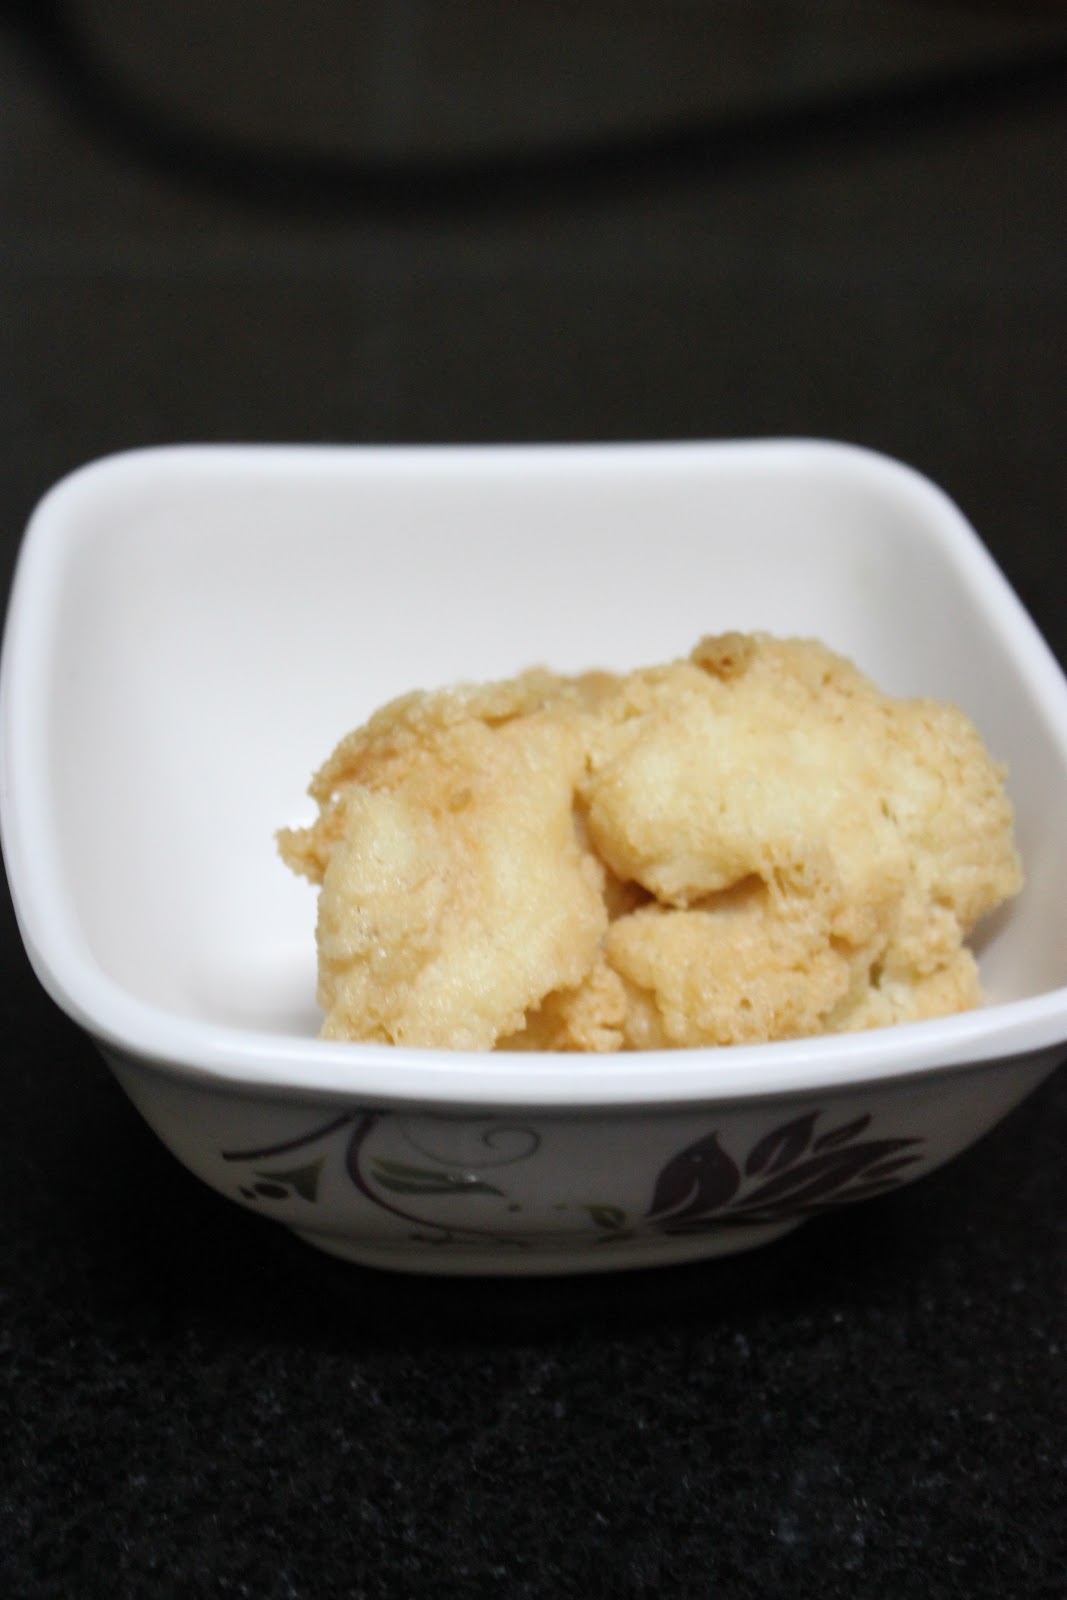
Heat Oil and add spoonfuls of batter and fry into dumplings.
Take out the dumplings in a tissue paper lined plate to soak extra oil.
Next heat a vessel full of water with a teaspoon of salt.
Bring the water to boil and switch off the gas.
Dunk the dumplings in boiling water and remove after two minutes.
Drain and squeeze out excess water and store the dumplings for anytime use.
Stored in fridge,dumplings should keep well for a week.


  Tamarind sauce
This is super easy to make and though its a  must for dahi badas it can be used for all kinds of Indian chaats. In fact I personally at times like to peep in the fridge and lick the sauce straight from the jar..stealthily!

Soak the tamarind in a cup of hot water. Extract the pulp and discard the seeds and hard skin.
Keep aside.
Heat one table soon of oil. Add cumin seeds, red chili powder and a pinch of asoefetida.
Add the tamarind pulp and two cups of water and bring it to a boil.
Now combine jaggery or brown sugar and let the sauce simmer.
Add salt,raisins and cashews.
Switch off the gas after five minutes.
Cool the sauce and store it bottled in the fridge.

To serve
Cover the dumplings in whisked smooth yogurt.
Sprinkle salt,chaat masala and roasted cumin powder.
Add a splash of tamarind sauce and garnish further with chopped coriander, grated carrot and juliennes of ginger if you wish.
Serve chilled.


Sunday 9 December 2012

Upside down Almond caramel layered coffee cake


Finally the final verdict in my eighth month-I don't have gestational diabetes and I can eat whatever I like.Yes, whatever my heart and baby fancies inside:) I am sooo delighted!!!
This welcome news arrived after a final cumbersome 100 gm glucose challenge test, yesterday.
My little one inside and me decided to indulge in something sinful but healthy and we go for an upside down almond and caramel layered cake.

This turned out to be a pretty looking cake and very yum too. Plus we were able to make use of all the almonds we received during Diwali:)

Ingredients
 For the caramel layer

Ghee-4tsp
Brown sugar-1/2 cup
Honey-1/4 cup
Almonds slivered-1 cup

For the coffee cake
 AP Flour-1 and 2/3 cup
Baking powder- 1 tsp
Baking soda-1 tsp
Salt-1/2 tsp
Eggs-2
Oil-1 cup
Sugar-1 cup
Instant coffee granules-3 tsp
Boiling water-2 tsp

Melt the ghee and pour it in the baking mould and swirl to coat the base completely
Sprinkle brown sugar all over the base
Drizzle honey over it.Sprinkle the almond flakes to cover the entire base.
I blanched the almonds in hot water, skinned, sliced and toasted it for a better look and flavour.
This is completely optional.


Add the coffee granules to boiling water and mix.
In a big bowl, mix the Oil, sugar and eggs vigorously.
Sift in first four ingredients from the cake list together and combine.
Add the coffee liquid and mix gently.
Pour this batter over the caramel base prepared earlier.

Bake in a preheated oven at 180 centigrade for 45 minutes or till a skewer comes out clean.
Remove from the oven and take out the cake upside down from the cake mould while the cake is warm.
Enjoy!


No bake,no gelatin, no effort strawberry cheesecake


One of my neighbours, is a very nice sporty gentleman in his sixties who long ago, agreed to be a guinea pig for all the experiments that took place in my kitchen. The only condition was that everything that went his way had to be egg less. I have faithfully complied and he has been a very appreciative and supportive audience of most of my culinary adventures.

Two days back, he dropped by for dinner. I took it as an opportunity to make something I have never tried my hands at and make use of the luscious strawberries I had picked up a day earlier from the grocer. I must admit that this experiment tasted yum but did not go the conventional route of a strawberry cheesecake. The cream tasted heavy for a light dessert and people had to dig real deep to spoon out the biscuit base, because of my not so perfect layering. I definitely intend it to have a go on this again next week with some improvisations. For now, sharing the recipe for two reasons-it was not a failure and it tasted fab with very little effort.

Ingredients-

For the base
Strawberry flavoured biscuits-20
Butter melted- 4 tsp

For the cream
Paneer-1 cup
Cream or malai-1/2 cup
Very thick curd-1/2 cup
Sugar powdered-6 tsp
Strawberry essence- 1 tsp
 Strawberries-3

Garnish-strawberry slices

Instead of making this dessert in a dish, I chose to do individual shot glasses.
Do not open the biscuit pack and crush the biscuits to powder by rolling the  rolling pin with pressure.Empty the  biscuit powder in a bowl and mix with melted butter.
Spoon out this mix into shot glasses and press to even out the base.
Put the glasses in the fridge for half an hour to set.


Crumble the paneer. Put paneer,curd,cream, sugar, essence and  strawberries in the mixer and run it for a few seconds till all becomes a uniform mixture. Do not run the mixer for long otherwise the cream will split and release whey. I had pink food colour so I added few drops to this mix. It is totally optional.

Take out the shot glasses with the set bases. Pour the cream mix over the  biscuit bases and garnish with strawberry slices. Keep this in the fridge for four to six hours before serving to set. Enjoy!

Thursday 6 December 2012

Homemade flavoured yogurt


Last month being a festival and wedding season, our taste buds were in for a party while our tummies went in for a gastric tumult. The rich and spicy gravies from the dinner buffets had to be balanced with something stomach soothing and nutritious during breakfast so we could stretch the patience limit of our tummies. Nothing better than a homemade flavoured yogurt which is healthy and calming for the stomach. It is such a loved dish in the family that people who do not like fruits also lick their bowls clean in moments. Apart from the health factor I also love this recipe for its versatility. One can make it in innumerable flavours and it tastes just the same or perhaps better than what is sold in the market.And of course the homemade yogurt has no preservatives..one may not require it as it would not last long ..I promise.

My personal favourite is Vanilla yogurt with a medley of fruits thrown in.It is also a wonderful substitute for heavy fruit cream. But I also make Pineapple and strawberry flavoured ones often too. I also experimented with coffee and chocolate flavours which I must confess did not turn out great. My father is fond of rose flavour and it was a hit with him too. In fact I often serve the saffron and cardamom flavoured yogurt with nuts as a final dessert in a lot of dinner parties at home and people love it. Enough raving about it..here goes the recipe.

Milk-1/2 litre
Milk powder-1/4 cup
Sugar-1/4 cup
Vanilla Essence or flavour of your choice-1 tsp
curd for culture-1 rounded spoon

Boil the milk with sugar. Add the milk powder and keep stirring so that no lumps are formed.
It is the milk powder which gives a creamy texture to the yogurt and also increases the protein content.
Once cooled , stir in the vanilla essence or whatever essence  you are using.
Add the curd culture when the milk is warm around 45 centigrade.(I just dip my finger and check).
Put the lid on and leave it in a dark warm place overnight.
You will have a creamy stiff yogurt in the morning .  Cool it in the fridge and add fruits and nuts of your choice before serving.
Few points to note here
1.Temperature is crucial here, so be careful when you add the curd culture.
2.If making Pineapple curd,do not use fresh pineapple. Stick to canned ones.
3.Do not add fruits while making the curd the previous night,as the curd culture will not happen uniformly.
4.If adding saffron, soak the strands with little warm milk separately and add to the boiled milk.
5. Exercise caution while adding citrus fruits and kiwi fruits as it splits the yogurt if kept for long.

Celebrating winters with carrot and orange cake


Its been exactly a month that I posted a new blog. It was not I did not bake the entire month but much to the contrary I baked a lot..seriously a lot but it has been a hectic month and I could not find time to sit and type about it. First it was Diwali and I baked a lot of goodies for giveaways and that had to be done in a short period of time,so I did not click any pics and write about it.This was followed by a wedding in the family and a lot of other social events for which again I did bake but sadly did not find the time to elaborate about it on net. Anyways I am back to baking and blogging now so why elaborate on reasons for not doing so in the past.

The winters are here. Shopping for veggies is more fun when one finds a lot of stuff that had been sorely missed during rest of the year. Oranges, Tangerines, mustard leaves, red carrot, fresh peas, and an incomprehensible variety of greens. Trips to the market have become more therapeutic than ever. We do get carrots round the year in Bangalore but they are those hard, light orange coloured ones. The red carrots make an appearance in the market only for a fortnight or so ,that too at a steep price but its worth it. The juicy firm texture full of flavour is definitely worth it. I grew up eating red carrots and all the year with orange carrots now is a compromise weighing heavily on the anticipation of that once a year ,fortnight of red carrots.
 So quickly before this sacred fortnight passes away,I need to make it more memorable to be able to cherish it and live without it for rest of the year. I decide to capture the love of the season in a heavy moist carrot and orange cake.This became such a hit that I do not have a picture of the final product which means that the cake vanished in moments after its exit from the oven. Nevertheless, will make it again and add the picture later.

Ingredients:
 Grated carrot-2 cups
Eggs-2
Oil-200 ml
Flour-1 and2/3 cup
Sugar-1 cup
Baking powder-1 tsp
Baking soda- 1 tsp
Salt-1/4 tsp
Fresh orange juice-1/2 cup
Zest of an orange- 1 tsp
For the zest of the orange, do not use the local  green and orange  skin variety.Stick to Sunkist orange for best results.
Raisins-handful
Cinnamon powder-1/4 tsp-I find Cinnamon too overpowering in flavour and hence use it sparingly but you can make changes according to your taste here.


1.Mix Oil, Sugar and eggs vigorously.Add the orange juice and zest.
2. Sift in the flour,Baking powder,soda and salt together. I used one cup of all purpose flour and 2/3 cup of wholewheat flour. Feel free to make changes according to your taste here. Mix gently.
3.Combine the grated carrot and a sprinkling on cinnamon.
4. I just added golden raisins to this cake but if you like more nuts, go ahead and add.
5.Pour the batter in greased baking pan and bake at 180 centigrade in a preheated oven for forty minutes or till the skewer comes out clean.
I got three cakes of six inches diameter from the above mentioned quantity.
This cake is heavy and moist in texture and a lovely yellow orange in colour. It is bursting with flavours and sure to be a hit with anyone who loves oranges and carrots.